

Documentation is simpler than you think
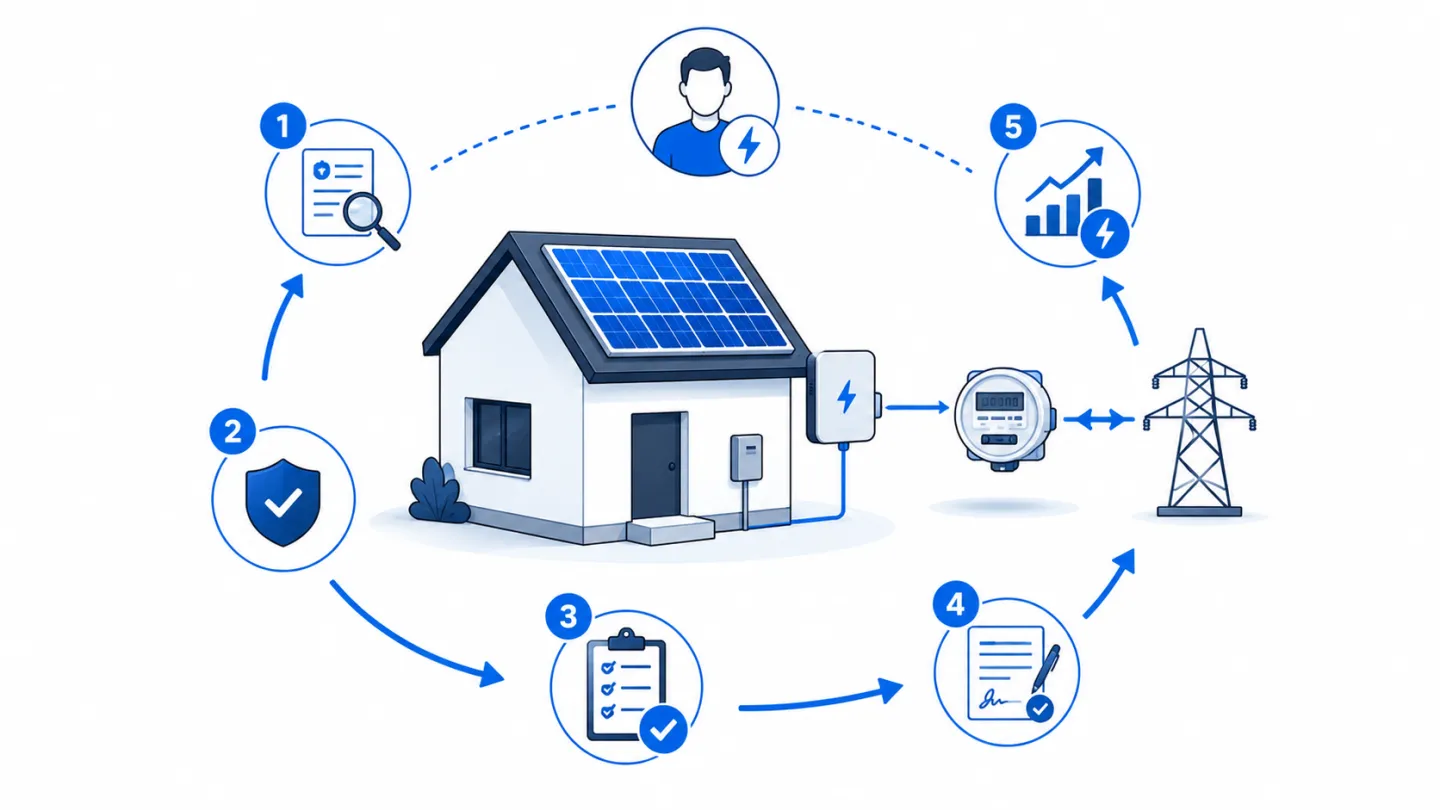
Many homeowners believe that documentation is the biggest obstacle to installing a solar power plant — but in reality, the procedure today is clear, standardized, and significantly simplified. Most of the paperwork is prepared by the installer, while the homeowner only needs to provide a few basic documents.
This guide provides an overview of everything you need, organized in a logical sequence, from the very first step to the moment your power plant becomes active and ready to operate.
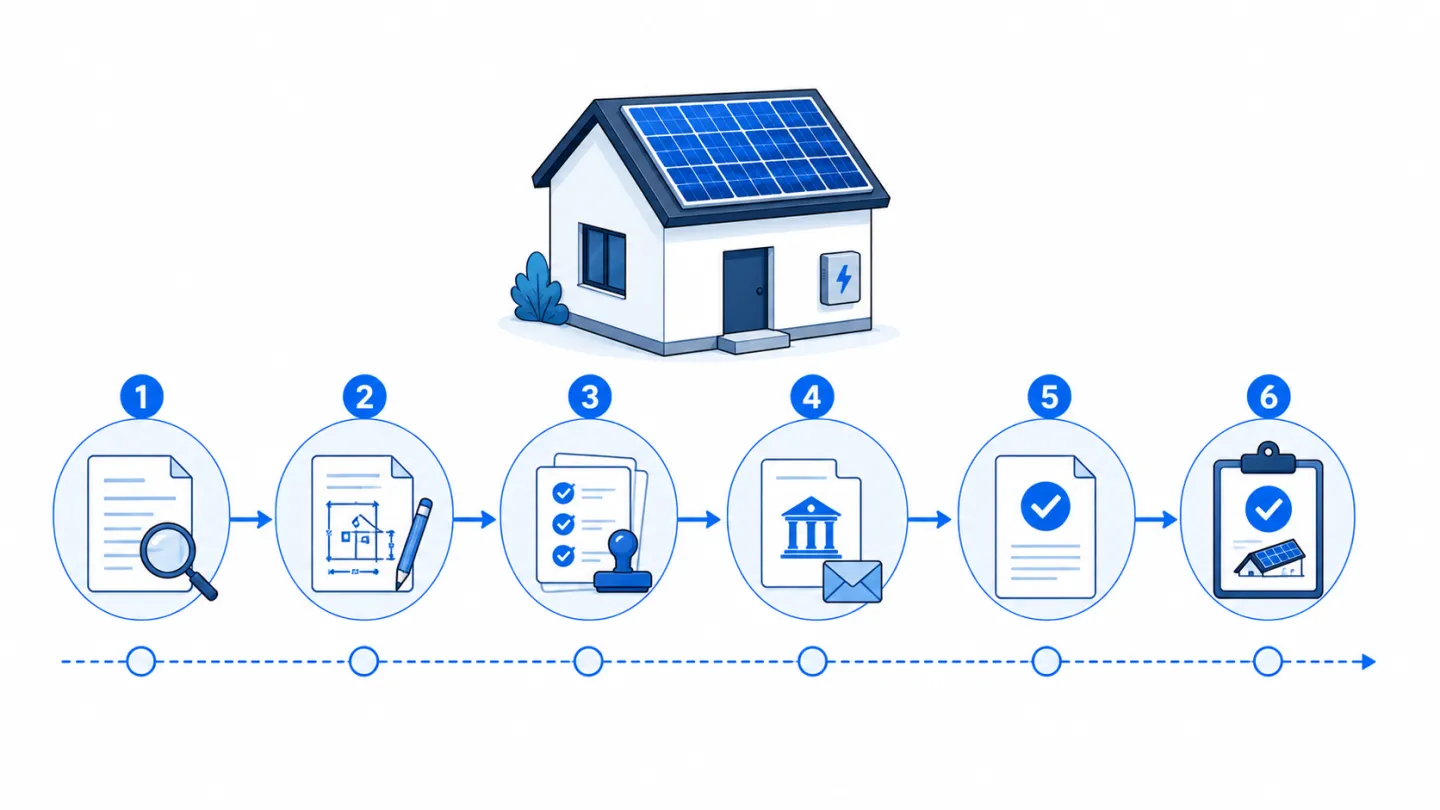
1. Consumption analysis and basic baseline data
Before preparing the project design, it is necessary to determine the basic technical data.
You are usually asked for:
- the last 12 months of electricity bills
- photos of the roof and location (wide shot + installation area)
- data on the roof and roofing type (tiles, sheet metal, flat roof…)
- desired power plant capacity
This data allows the designer to accurately size the system and verify if your property is suitable for a PV plant.
2. Application for connection conditions (HEP-ODS)
The first official document in the process is the Application for Issuing Technical Connection Conditions. It is submitted to HEP-ODS and typically includes:
- basic information about the user and the property
- the planned capacity of the solar power plant
- the location of the metering point
- a roof sketch showing the panel positions (can be a simple 2D sketch)
Most installers prepare this document on your behalf.
3. Connection Capability Notice (OMK)
After processing the application, HEP issues a document called the OMK – Connection Capability Notice.
The OMK confirms two key things:
- that the grid can accept your planned power plant
- that you can proceed with the development of the main project design
Without the OMK, it is not possible to proceed to the installation phase.
4. Development of the main electrical project design
The project design is prepared by a licensed electrical engineer.
It contains:
- a technical description of the system
- power plant calculations (capacity, losses, yield)
- panel and inverter wiring schematics
- sizing of protective equipment
- a list of installed equipment with certificates
- a floor plan with panel layout
- safety measures (earthing/grounding, surge protection)
This document is crucial because it defines the entire system and is attached later in the process before the meter installation.
5. Execution of works – installation of the power plant
The installation can be done immediately after the project design is finished, but the power plant must not operate until HEP replaces the meter.
The installer then prepares:
- a testing and trial run commissioning report
- photo documentation of the completed works
- equipment conformity certificates (CE, IEC standards)
This is the part of the documentation you will later submit to HEP as proof that the system was correctly executed.
6. Registering the power plant with HEP and meter replacement
After the works are completed, the documentation is submitted to HEP for:
- electrical installation soundness
- proof of executed protection systems
- the main project design
- the post-installation testing report
- the installer's certificate of system execution
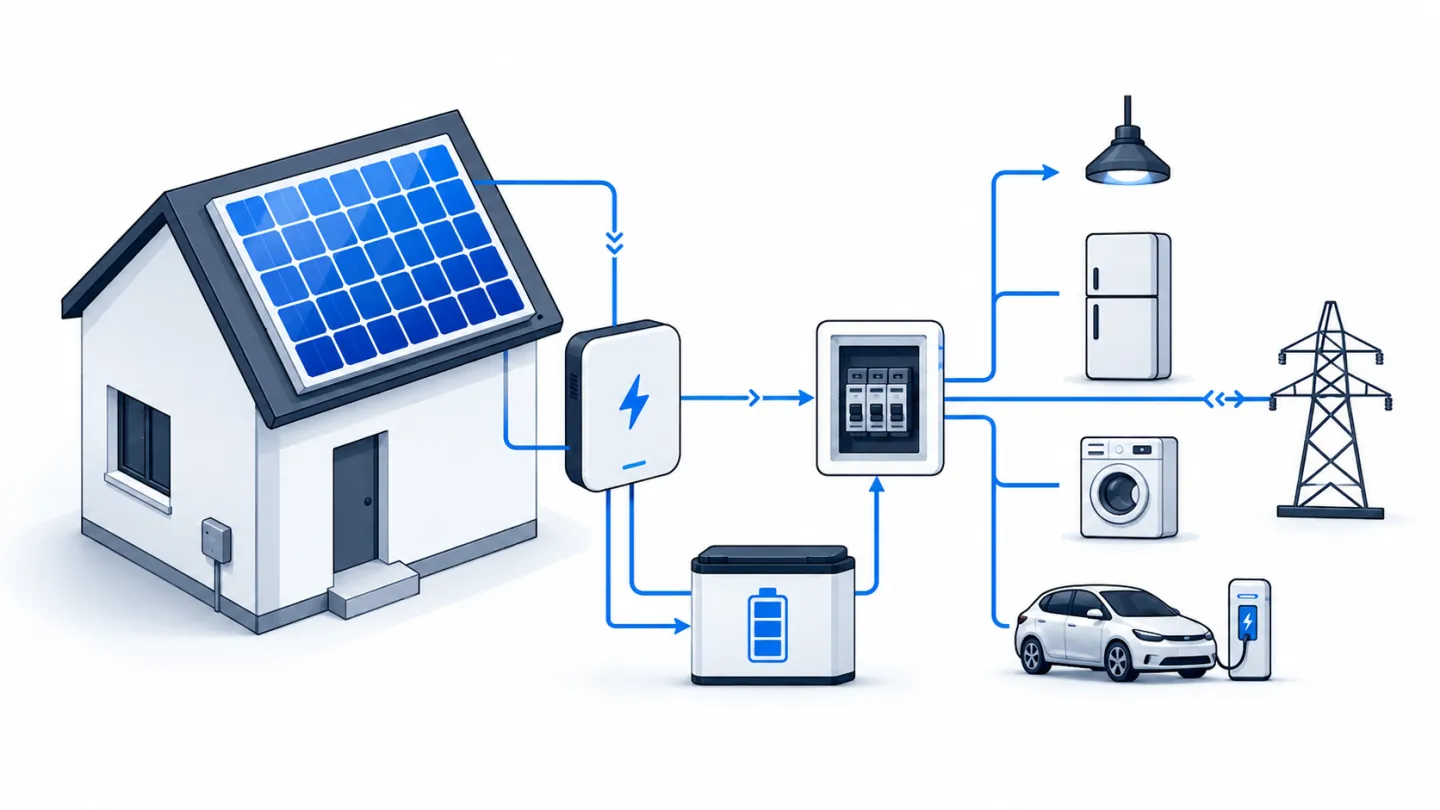
HEP then arrives within a few weeks and installs a bidirectional smart meter, which measures:
- the energy you draw from the grid
- the energy you feed into the grid
From that moment on, the power plant can officially operate.
7. Contracts on the purchase of excess energy and grid use
The final step involves signing two documents:
- Grid Use Contract
- Contract on the Purchase of Excess Electricity (usually with HEP Opskrba)
With these contracts, you officially become a prosumer and gain the right to feed excess energy into the grid.
How long does the entire process take?
Realistic timeframes (depending on the region):
- documentation preparation: 2–4 weeks
- HEP analysis and OMK issuance: 2–6 weeks
- installation: 1–2 days
- bidirectional meter installation: 1–3 weeks
Total: 30–90 days to a fully functional power plant.
Conclusion: Documentation is no longer an obstacle
Today's process is standardized, digitized, and significantly faster than before. Most of the responsibilities are handled by experts, while the user only takes care of providing basic data.
Once all the documents are in order, the power plant is officially commissioned very quickly — and the savings begin immediately.